Figma Move Page to Another File Seamlessly - A Guide to Organize Your Designs Effortlessly.

Figma is a popular design tool that allows designers to create and collaborate on digital designs. One of the most common tasks in Figma is moving elements between pages and frames, but what about transferring pages to another file? This can be a bit more challenging, but it is definitely possible.
Designers can use the copy-and-paste method to transfer a page to another Figma file. However, this can result in losing essential properties and components. Fortunately, there are workarounds that can help designers transfer pages without losing any important elements.
Key Takeaways:
- Transferring pages from one Figma file to another can be a bit challenging, but it is possible.
- Copying and pasting pages can result in losing essential properties and components.
- Designers can use workarounds to transfer pages without losing any important elements.
Accessing Figma Files
Figma is a cloud-based design tool that allows users to create, share, and collaborate on design files. Accessing Figma files is easy, and there are a few different ways to do it.
Locating Files in Projects
Figma organizes files into projects, which can be accessed from the dashboard. To locate a specific file, users can navigate to the project it is located in and select it from the list of files. Alternatively, users can use the search bar to find files by name or keyword.
Opening Drafts and Design Files
Once a file is located, users can open it by clicking on it. Figma files can be opened in two different modes: draft mode and design mode. Draft mode allows users to view and edit the file's structure, while design mode allows users to edit the file's visual design.
When a file is opened in design mode, users can access the layers panel, which shows all of the file's layers and allows users to select and edit individual elements. Users can also access the properties panel, which shows the selected element's properties.
In addition to opening files in Figma, users can also download them as PDFs or PNGs. This can be useful for sharing files with stakeholders who do not have access to Figma.
Overall, accessing Figma files is a straightforward process that can be done from the dashboard or by using the search bar. Once a file is located, it can be opened in either draft or design mode, depending on the user's needs.
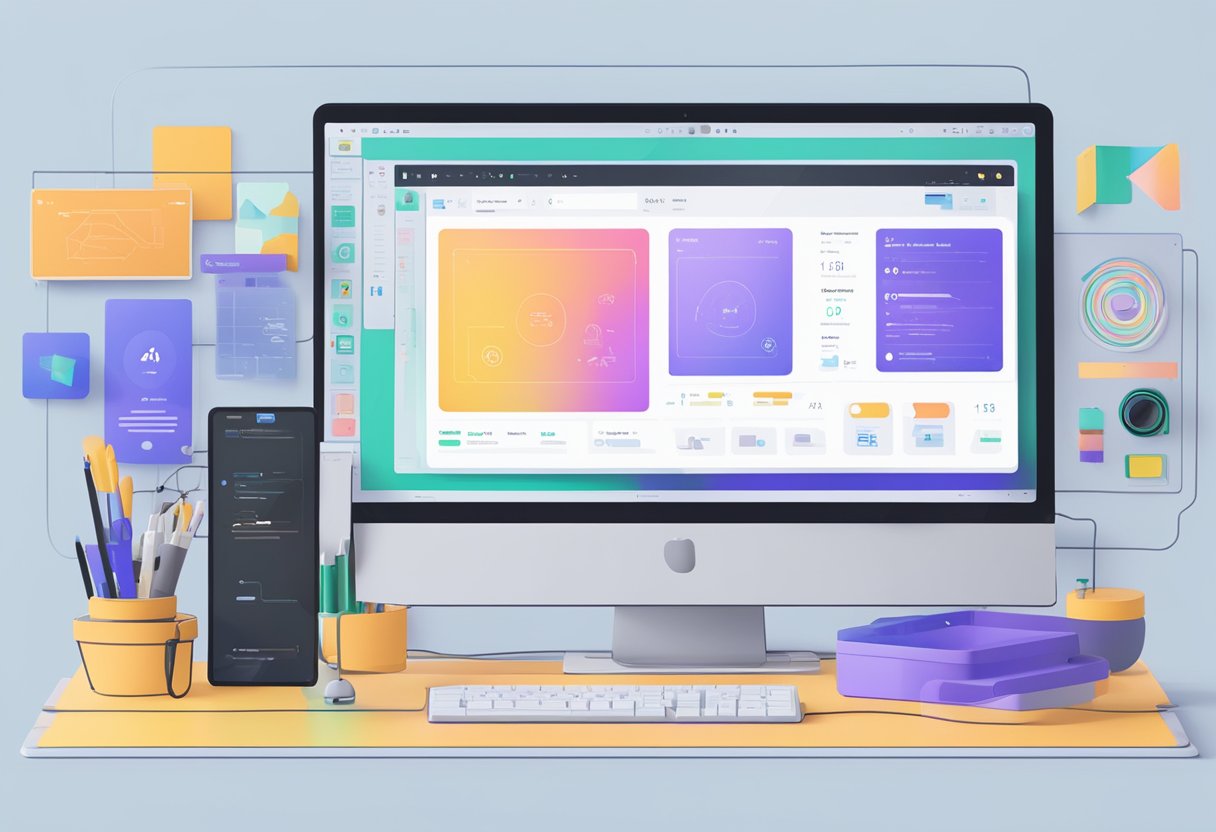
Understanding Figma Interface
Figma is a powerful design tool that allows designers to create and collaborate on projects in real time. Navigating the interface can be overwhelming at first, but with a little practice, it becomes intuitive.
Navigating the Canvas
The canvas is where designers create their designs. It's the blank white space in the center of the Figma interface. To navigate the canvas, designers can use the following shortcuts:
- Hold down the spacebar to pan around the canvas.
- Use the scroll wheel to zoom in and out.
- Use the zoom slider in the bottom right corner of the canvas to adjust the zoom level.
Working with Layers
Layers are the building blocks of a Figma design. They can contain shapes, text, images, and more. Layers are organized in the Layers panel, which is located on the left side of the Figma interface. To work with layers, designers can use the following shortcuts:
- Click on a layer in the Layers panel to select it.
- Use the arrow keys to move a selected layer up, down, left, or right.
- Use the Shift key in combination with the arrow keys to move a layer in larger increments.
- Use the Option/Alt key in combination with the arrow keys to duplicate a layer.
Utilizing Icons
Icons are a great way to add visual interest to a design. Figma has a built-in library of icons that designers can use or import their own. To utilize icons in a Figma design, designers can use the following shortcuts:
- Click on the Insert menu in the top menu bar.
- Select the Icons option.
- Browse the built-in library or import icons from a file.
- Drag and drop the desired icon onto the canvas.
In conclusion, understanding the Figma interface is crucial for designers to create and collaborate on projects efficiently. By mastering the navigation of the canvas, working with layers, and utilizing icons, designers can create stunning designs in Figma.
Working with Pages and Frames
Figma is a powerful design tool that allows designers to create and manipulate pages and frames with ease. In this section, we will explore how to create and edit pages, as well as how to manipulate frames.
Creating and Editing Pages
To create a new page in Figma, click on the Pages icon in the left-hand toolbar and select "New Page." You can also duplicate an existing page by right-clicking on the page and selecting "Duplicate Page." In Starter team files, you are limited to a maximum of three pages per file.
To edit a page, click on the page name in the Pages panel and make your changes. You can also change the name of the page by double-clicking on the page name and typing in a new name.
Manipulating Frames
Frames are the building blocks of your designs in Figma. You can create a new frame by selecting the Frame tool from the left-hand toolbar and dragging it onto the canvas. You can also create a new frame by selecting an object and then clicking the "Create Frame" button in the toolbar.
Once you have created a frame, you can manipulate it in a variety of ways. You can move it around the canvas by clicking and dragging it, resize it by dragging the handles on the edges of the frame, and rotate it by clicking and dragging the rotation handle.
In addition to these basic manipulations, Figma also allows you to group frames together, mask frames with other objects, and apply styles to frames to change their appearance quickly.
In conclusion, Figma's powerful page and frame manipulation tools make it easy for designers to create and edit their designs quickly and efficiently. Whether you are creating a new page from scratch or manipulating an existing frame, Figma's intuitive interface and powerful tools make it easy to get the job done.
Moving Elements in Figma
Moving elements in Figma is a simple and straightforward process. Users can move layers, frames, and pages between files with ease. This section will cover the steps required to move elements in Figma, including moving layers, cutting, and pasting elements.
Moving Layers
To move layers in Figma, users can select the layer they want to move and drag it to the desired location. Alternatively, users can use the keyboard shortcut "Command + Option + Arrow Keys" (Mac) or "Ctrl + Alt + Arrow Keys" (Windows) to move the layer in the desired direction.
Users can also move multiple layers at once by selecting them and using the same drag-and-drop method or keyboard shortcut. When moving multiple layers, Figma will maintain the relative position of each layer, making it easy to move them as a group.
Cutting and Pasting Elements
Cutting and pasting elements in Figma is another way to move elements between files. To cut an element, users can select it and use the keyboard shortcut "Command + X" (Mac) or "Ctrl + X" (Windows). This will remove the element from the current file and store it in the clipboard.
To paste the element into a new file, users can open the destination file and use the keyboard shortcut "Command + V" (Mac) or "Ctrl + V" (Windows). This will paste the element into the new file at the cursor's current location.
It's important to note that cutting and pasting elements will not preserve any connections or interactions associated with the element. If an element is part of a component or has any interactions attached to it, those will need to be re-established after the element has been pasted into the new file.
In conclusion, moving elements in Figma is a simple process that can be accomplished using a variety of methods. Whether users choose to move layers using drag-and-drop or cut-and-paste elements between files, Figma makes it easy to transfer elements between projects.
Organizing Components and Prototypes
When working on multiple Figma files, it's important to keep your components and prototypes organized. This will help you find what you need quickly and avoid duplication of work. This section covers how to manage components and design prototypes.
Managing Components
Components are reusable design elements that can be used across multiple files. When organizing components, it's important to keep them consistent and easy to find. Here are some tips on how to manage your components:
- Use a naming convention that is consistent across all files. This will make it easier to find the components you need.
- Use frames to group related components together. For example, you could have a frame for buttons and another for icons.
- Publish your components to the team library so that other team members can use them.
Designing Prototypes
Prototypes are interactive designs that simulate the user experience. When designing prototypes, it's important to keep them organized and easy to navigate. Here are some tips on how to design your prototypes:
- Use frames to group related screens together. For example, you could have a frame for the login flow and another for the checkout flow.
- Use hotspots to link screens together. This will make it easy for users to navigate through your prototype.
- Use comments to provide context for your designs. This will help other team members understand your thought process.
Following these tips lets you keep your components and prototypes organized and easy to find. This will save you time and help you work more efficiently.
Transferring Pages to Another File
When working with Figma, transferring pages from one file to another is sometimes necessary. This can be done in a few simple steps outlined below.
Preparation for Page Transfer
Before transferring a page to another file, it is important to make sure that all necessary elements are included. This includes any locked objects, background colors, and other properties that may be set on the page. If any of these elements are left out, the page may not function properly in the new file.
To prepare for a page transfer, follow these steps:
- Open both the source and destination files in Figma.
- Make sure that all necessary elements are unlocked and visible on the source page.
- Check that the destination file has enough space to accommodate the transferred page.
- If the page contains any components or styles that are not already present in the destination file, make sure to transfer those as well.
Executing the Page Transfer
Once the necessary preparations have been made, it is time to execute the page transfer. To do this, follow these steps:
- Select the page that you want to transfer in the source file.
- Use the keyboard shortcut
Cmd/Ctrl + Cto copy the page. - Switch to the destination file and select the page where you want to transfer the copied page.
- Use the keyboard shortcut
Cmd/Ctrl + Vto paste the copied page into the destination file. - Check that all necessary elements have been transferred correctly and that the page is functioning properly in the new file.
It is important to note that when transferring a page to a new file, any comments or master components associated with the page will not be transferred. If these elements are important to the functionality of the page, they will need to be recreated in the new file.
In conclusion, transferring pages between Figma files is a simple process that can be done in just a few steps. By following the preparation and execution steps outlined above, users can ensure that all necessary elements are included in the transfer and that the page functions properly in the new file.
Collaboration in Figma
Figma is a powerful tool for designers to collaborate on projects in real time. With its cloud-based platform, multiple users can work on the same project simultaneously, making it easier to manage design projects and streamline the design process. In this section, we will explore some of the collaboration features in Figma that make it an ideal platform for team collaboration.
Commenting on Designs
One of the most useful collaboration features in Figma is the ability to leave comments on designs. This feature makes it easy for team members to provide feedback on designs and suggest changes. Comments can be left on individual elements or on the entire design, making it easy to communicate specific feedback.
When a comment is left, the designer receives a notification and can reply directly to the comment. This helps keep the feedback organized and ensures everyone is on the same page. Additionally, comments can be marked as resolved once the issue has been addressed, making it easy to keep track of progress.
Handling Library Updates
Another important collaboration feature in Figma is the ability to handle library updates. Libraries are collections of reusable design elements that can be shared across multiple projects. When a library is updated, all projects that use that library are automatically updated as well.
This feature makes it easy to maintain consistency across multiple projects and ensures that everyone is using the latest design elements. Additionally, libraries can be shared with other team members, making it easy to collaborate on design projects.
Bring your Figma designs to life with Figmafy
Figmafy's team of talented developers offers an exceptional suite of Figma-to-code services that revolutionize the design-to-development workflow. Their deep understanding of design principles and coding languages allows them to bridge the gap between designers and developers seamlessly. With their meticulous attention to detail, quick turnaround times, and commitment to delivering pixel-perfect code, Figmafy has become a go-to choice for design teams looking to bring their Figma designs to life.
If you're tired of the traditional handoff process and want to streamline your design-to-development workflow, look no further than Figmafy. Their Figma-to-code services will save you time, reduce frustration, and ensure a smooth transition from design to implementation. Say goodbye to tedious manual code translation and hello to efficient collaboration and pixel-perfect results. Visit Figmafy's website today to learn more and take your design projects to new heights with their exceptional services.
Frequently Asked Questions
Can you move a page to another file in Figma?
Yes, you can move a page from one Figma file to another. This can be useful if you want to organize your work or collaborate with other designers.
How do I move a page in Figma?
To move a page in Figma, you can drag and drop the page from one file to another. First, open both files in separate tabs or windows. Then, click and hold the page you want to move from the Layers panel and drag it over to the other file. Once you see a blue highlight around the destination file, release the mouse button to drop the page into the new file.
How do I move one file to another in Figma?
You can use the "Move to" option in the file's menu to move one file to another in Figma. First, select the file you want to move from the Files tab. Then, click on the three dots icon in the top right corner of the file thumbnail. Select "Move to" from the dropdown menu and choose the destination file.
How do I copy and paste from one Figma file to another?
You can copy and paste from one Figma file to another using the standard copy and paste commands. First, select the object or objects you want to copy in the source file. Then, use the keyboard shortcut "Cmd/Ctrl + C" to copy the object. Next, open the destination file and use the keyboard shortcut "Cmd/Ctrl + V" to paste the object into the new file.
How to duplicate a page in Figma?
To duplicate a page in Figma, you can use the "Duplicate page" option in the page's menu. First, select the page you want to duplicate from the Layers panel. Then, click on the three dots icon next to the page name and select "Duplicate page" from the dropdown menu. This will create a new page with the same content as the original page.
Figma import components from another file?
Yes, you can import components from another file in Figma. To do this, you first need to publish the components you want to import to a team or organization library. Then, in the destination file, you can use the "Import from library" option in the Components panel to import the components from the source file.