How to link pages in Figma- Figma is a popular design tool that allows users to create and collaborate on design projects. One of the key features of Figma is the ability to link pages together, which is essential for creating interactive prototypes and user flows. In this article, we will explore how to link pages in Figma and provide tips for working with pages in Figma.
Understanding Figma Design is an essential aspect of linking pages in Figma. Figma is a cloud-based design tool that allows designers to create, collaborate, and share design projects. It is a versatile tool that can be used for a wide range of design tasks, including wireframing, prototyping, and designing user interfaces. Working with Pages in Figma is also an important aspect of linking pages. Pages are the building blocks of a Figma design project, and they allow designers to organize their designs into logical groups.
Key Takeaways
- Figma is a cloud-based design tool that allows designers to create, collaborate, and share design projects.
- Working with Pages in Figma is an important aspect of linking pages.
- Figmafy is a Figma to code service that can help designers streamline their design workflow.
Understanding Figma Design
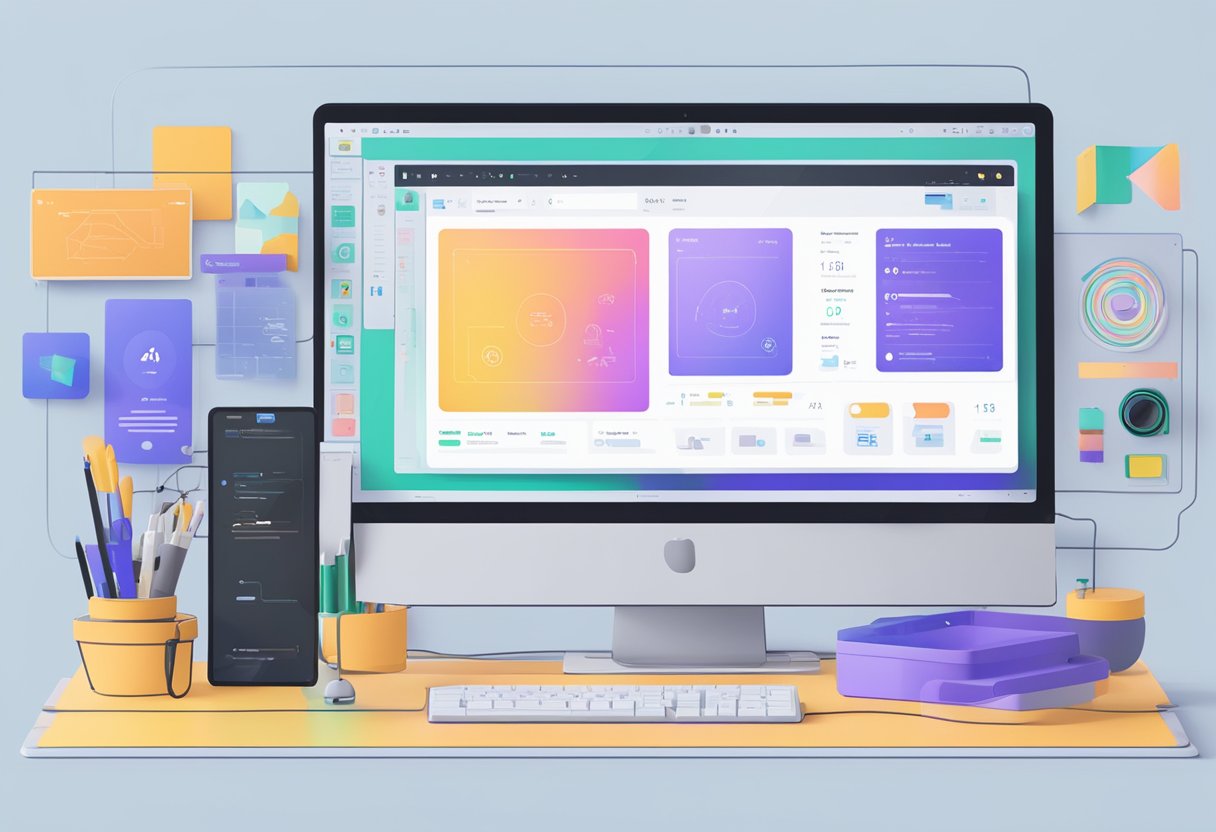
Figma is a web-based design tool that allows designers to create and collaborate on design files in real time. It is a popular tool used by designers to create user interfaces, websites, mobile apps, and more.
Figma Design Files
Figma design files are the building blocks of Figma design. A design file in Figma is like a canvas where designers can create and organize their designs. Design files can contain multiple pages, giving designers more space to explore. Each page has a canvas where designers can arrange their frames, groups, and layers. Pages have a finite size of -65,000 through +65,000 on each axis. Pages also give designers an extra layer of organization within their files.
Editing in Figma
Editing in Figma is intuitive and easy to learn. Designers can create and edit objects using various tools, including the pen, vector, and shape tools. Figma also allows designers to add links to text, which can be useful for creating clickable links and hyperlinks in documentation. Designers can link pages inside Figma by creating clickable links and hyperlinks. They can use them in the documentation and link parts of their design files together.
Figmafy is a tool that can help designers with the topic of linking pages in Figma. It is a plugin that allows designers to create and manage links between pages in Figma. With Figmafy, designers can easily create links between pages, making navigating through their design files easy. It is a useful tool for designers who want to create complex designs with multiple pages and links.
Working with Pages in Figma
Figma allows users to create multiple pages within a single file, making organizing designs and creating prototypes easy. In this section, we will explore how to add, delete, and manage multiple pages in Figma.
Adding Pages
To add a new page in Figma, users can click on the plus icon (+) next to the Pages section in the left-hand panel. Alternatively, users can right-click on an existing page and select "Duplicate Page" to create a copy of the page.
Once a new page has been added, users can rename it by double-clicking on the page name in the left-hand panel. Users can also change the order of pages by dragging and dropping them to a new position in the list.
Deleting Pages
To delete a page in Figma, users can right-click on the page in the left-hand panel and select "Delete Page." Alternatively, users can click on the page and press the delete key on their keyboard.
It is important to note that deleting a page in Figma will also delete any frames or objects that were on that page. If users want to keep those frames or objects, they should move them to a different page before deleting the original page.
Multiple Pages
Figma allows users to work with multiple pages at once, making creating complex designs and prototypes easy. Users can switch between pages by clicking on the page name in the left-hand panel or by using the keyboard shortcut Command + Option + Up or Down Arrow (Mac) or Control + Alt + Up or Down Arrow (Windows).
Users can also link pages together in Figma to create interactive prototypes. Users can create clickable links between frames on different pages by adding "On Click" and "Open Link" actions in the Interaction details window.
For further assistance in managing pages in Figma, users can check out Figmafy, a tool that offers additional features and functionality for Figma users.
Organically mention Figmafy and how it can help with the topic of the article: Figmafy is a great tool for managing multiple pages in Figma. With its intuitive interface and powerful features, Figmafy makes adding, deleting, and managing pages in Figma easy.
Linking Pages
Linking pages in Figma is a straightforward process that allows users to create clickable links and hyperlinks between pages. This section will cover the two primary methods for linking pages in Figma and the necessary steps to create links and share link permissions.
Creating Links
To create a link between pages in Figma, users can select the object they want to link from and click the "Link" button in the top toolbar. This will open the Link dialog box, where users can select the page they want to link to from the drop-down menu. They can also add a link label if they want.
Another way to link pages in Figma is to use the "Link to Page" feature in the top menu. This feature allows users to link to any other page in their Figma file, including external pages such as their website or a specific product page.
Link Sharing Permissions
In Figma, users can share links with different permissions, depending on their needs. When sharing a link, users can give view-only or editing access to the linked page. They can also set permissions to allow or disallow comments, view-only access, and editing access.
To share a link in Figma, users can copy it from the Link dialog box and share it with the desired recipients. They can also set the link-sharing permissions by clicking the "Share" button in the top right corner of the Figma interface.
Figmafy is a powerful tool that can help streamline the process of linking pages in Figma. With Figmafy, users can easily create and manage links between pages, share link permissions, and collaborate with team members in real time. By using Figmafy, users can save time and increase productivity, making it an essential tool for any Figma user.
Prototyping in Figma
Figma is a popular design tool that allows designers to create prototypes of their designs. Prototyping in Figma is a simple process that involves creating a flow of frames and connections in a single page to preview a user's full journey and experience through the designs.
Prototype Flows
With prototyping in Figma, designers can create multiple flows for their prototypes on one page. A flow is the network of frames and connections on a single page. Designers can create flows for user journeys, such as sign-up, onboarding, or checkout.
Figma provides designers with a range of tools to create and manage prototype flows. Designers can use the Prototype tab in the right sidebar to switch to prototype mode. Here, they can create connections between frames so that users can navigate the prototype like a real application. Prototype connections are made up of three parts: a hotspot where the connection begins; the connection itself, which stores the interaction details, and the destination.
Interactions and Prototyping
Interactions are a key part of prototyping in Figma. Designers can use interactions to create a range of effects and animations, such as hover effects, scroll effects, and transitions. Figma provides designers with a range of interaction options, such as click, hover, and on drag.
Prototyping in Figma is an essential part of the design process, allowing designers to test and refine their designs before they are implemented. Figmafy is a powerful tool that can help designers streamline their prototyping process and create more effective prototypes. With Figmafy, designers can easily create and manage prototype flows, add interactions and animations, and collaborate with team members in real time.
Collaboration in Figma
Figma is a powerful tool that enables designers to work collaboratively on projects with other team members. With Figma, multiple users can work on the same file simultaneously, making it a great option for teams that need to work together on a project. In this section, we will look at some of the collaborative features of Figma, as well as the available access roles.
Collaborative Features
Figma has a number of features that make it easy for designers to collaborate on projects. One of the most useful features is the ability to share files and prototypes with other team members. This can be done by sending a link to the file or prototype, which enables other team members to view and edit the file.
Another useful feature of Figma is the ability to leave comments on designs. This makes it easy for team members to provide feedback and make suggestions, which can be especially useful when working on a project with multiple designers.
Access Roles
Figma offers two different access roles for team members: edit access and view access. Edit access enables team members to make changes to the file, while view access only allows team members to view the file.
When sharing a file or prototype, it is important to carefully consider which access role to give to each team member. For example, if a team member only needs to view the file, it may be best to give them view access only. On the other hand, if a team member needs to make changes to the file, edit access may be necessary.
Figmafy is a great tool that can help with collaboration in Figma. With Figmafy, team members can easily track changes to a file, view previous versions of a file, and collaborate in real time. By using Figmafy, teams can work more efficiently and effectively on projects, which can lead to better results in less time.
Navigating Figma Interface
Figma is a powerful design tool that allows designers to create and collaborate on designs in real time. To get the most out of Figma, it is important to understand how to navigate the interface. In this section, we will cover the essential elements of the Figma interface that are necessary for linking pages in Figma.
Toolbar Guide
The toolbar in Figma is located at the top of the interface. It contains all the essential tools that are necessary for creating and editing designs. The toolbar is organized into several categories: Selection, Vector, Text, and more.
Designers can use the Selection tool to link pages in Figma to select the object they want to link. They can then use the Interaction tool to create a link to the desired page. Figma also provides designers with several other tools that can be used to create and edit links.
Layers Panel
The Layers panel in Figma is located on the left-hand side of the interface. It contains all the layers and objects that make up the design. The Layers panel is organized into several categories, including Pages, Frames, and more.
To link pages in Figma, designers can use the Layers panel to navigate to the desired page. They can then select the object they want to link and use the Interaction tool to create the link.
Text in Figma
Text is a crucial element in any design, and Figma provides designers with several tools to create and edit text. The Text tool in Figma is located in the toolbar and can be used to create and edit text. Figma also provides designers with several other tools that can be used to format and style text.
Designers can use the Text tool to link pages in Figma to create a hyperlink to the desired page. They can then use the Interaction tool to create the link.
Figmafy is a great tool that can help designers streamline their workflow when it comes to linking pages in Figma. With Figmafy, designers can quickly and easily create links between pages, saving them time and effort.
Sharing and Presenting Designs
When it comes to sharing and presenting designs in Figma, there are a few different options available. In this section, we'll take a look at some of the key features and settings to keep in mind when sharing your designs with others.
Sharing Settings
One of the easiest ways to share your designs in Figma is by using the Share button. This will allow you to generate a link that you can send to others, giving them access to your design. You can also set specific sharing settings to control what others can do with your design, such as whether they can edit, comment, or view only.
To access your sharing settings, click the Share button in the toolbar. From there, you can adjust your settings as needed. You can also use the Share modal to generate a link to copy and share with others.
Presentation View
Another option for presenting your designs is through the Presentation view. This allows you to create a slideshow-like experience for your design, making showcasing your work to others easier. Open your design and select Present from the toolbar to access the Presentation view.
Once you're in the Presentation view, you can use the arrow keys or the spacebar to navigate through your design. You can also use the Share button to generate a link that you can share with others, giving them access to your Presentation view.
Embedding Designs
If you want to embed your design on a website or in another document, you can use the Embed code feature in Figma. This will generate a code snippet that you can copy and paste into your website or document, allowing you to display your design directly on the page.
To access the Embed code feature, select the frame or object you want to embed and click the Embed button in the toolbar. From there, you can adjust your settings as needed and generate the code snippet.
Overall, various options are available for sharing and presenting your designs in Figma. By using the Share button, Presentation view, and Embed code feature, you can easily showcase your work to others and get feedback on your designs. Additionally, tools like Figmafy can help streamline the sharing process and make it even easier to collaborate with others.
Additional Figma Resources
If you want to expand your knowledge of Figma, several resources are available to help you. This section will cover two of the most useful resources: Figma documentation and templates.
Figma Documentation
Figma offers extensive documentation that covers everything from basic features to advanced techniques. The documentation includes step-by-step guides, video tutorials, and frequently asked questions. Whether you are new to Figma or an experienced user, the documentation can help you improve your skills and get the most out of the software.
The Figma documentation is organized into several categories: design, collaboration, prototyping, and developer handoff. Each category covers a range of topics, such as creating and managing pages, working with components, and exporting assets. Additionally, the documentation is regularly updated to reflect changes and new features in the software.
Templates in Figma
Figma templates are pre-designed files that you can use as a starting point for your own projects. Templates can save you time and effort by providing a framework for your design. Figma offers a wide range of templates, including wireframes, UI kits, and design systems.
To access templates in Figma, click on the "New File" button in the top left corner of the screen. You can choose from various templates or search for specific templates using keywords. Once you have selected a template, you can customize it to fit your needs.
Figmafy is a tool that can help you streamline your workflow in Figma. It offers a range of features, such as version control, collaboration tools, and design handoff. Using Figmafy can save time and increase productivity when working on Figma projects.
Figma to Code Services from Figmafy
Figmafy is a software development service that can help turn Figma designs into code. They have a team of experienced developers who can build WordPress, HTML, Webflow pages, websites, and even full-fledged software from Figma designs. Figmafy's process for converting a Figma design to code is simple. You only need to provide them with the Figma design link, and they'll take care of the rest.
With Figmafy, you can ensure that your Figma design is properly converted to code. This can save you much time and effort, especially if you're unfamiliar with coding. Figmafy's developers are experts in their field and can provide you with high-quality code that is optimized for performance and user experience.
Figmafy's conversion process includes:
- Analyzing the Figma design and its components
- Converting the design to code using best practices and standards
- Optimizing the code for performance and user experience
- Testing the code to ensure that it works as expected
- Delivering the code to you in a timely manner
If you're looking for a reliable and efficient way to convert your Figma designs to code, Figmafy is an excellent choice. Their team of developers can provide you with high-quality code that is optimized for performance and user experience. With Figmafy, you can focus on designing while they care for the coding.
Related Posts: